How to use the Temperature and Humidity Sensor
In this guide, we will go over…
1.) Physical Installation
2.) Temperature and Humidity Dashboard
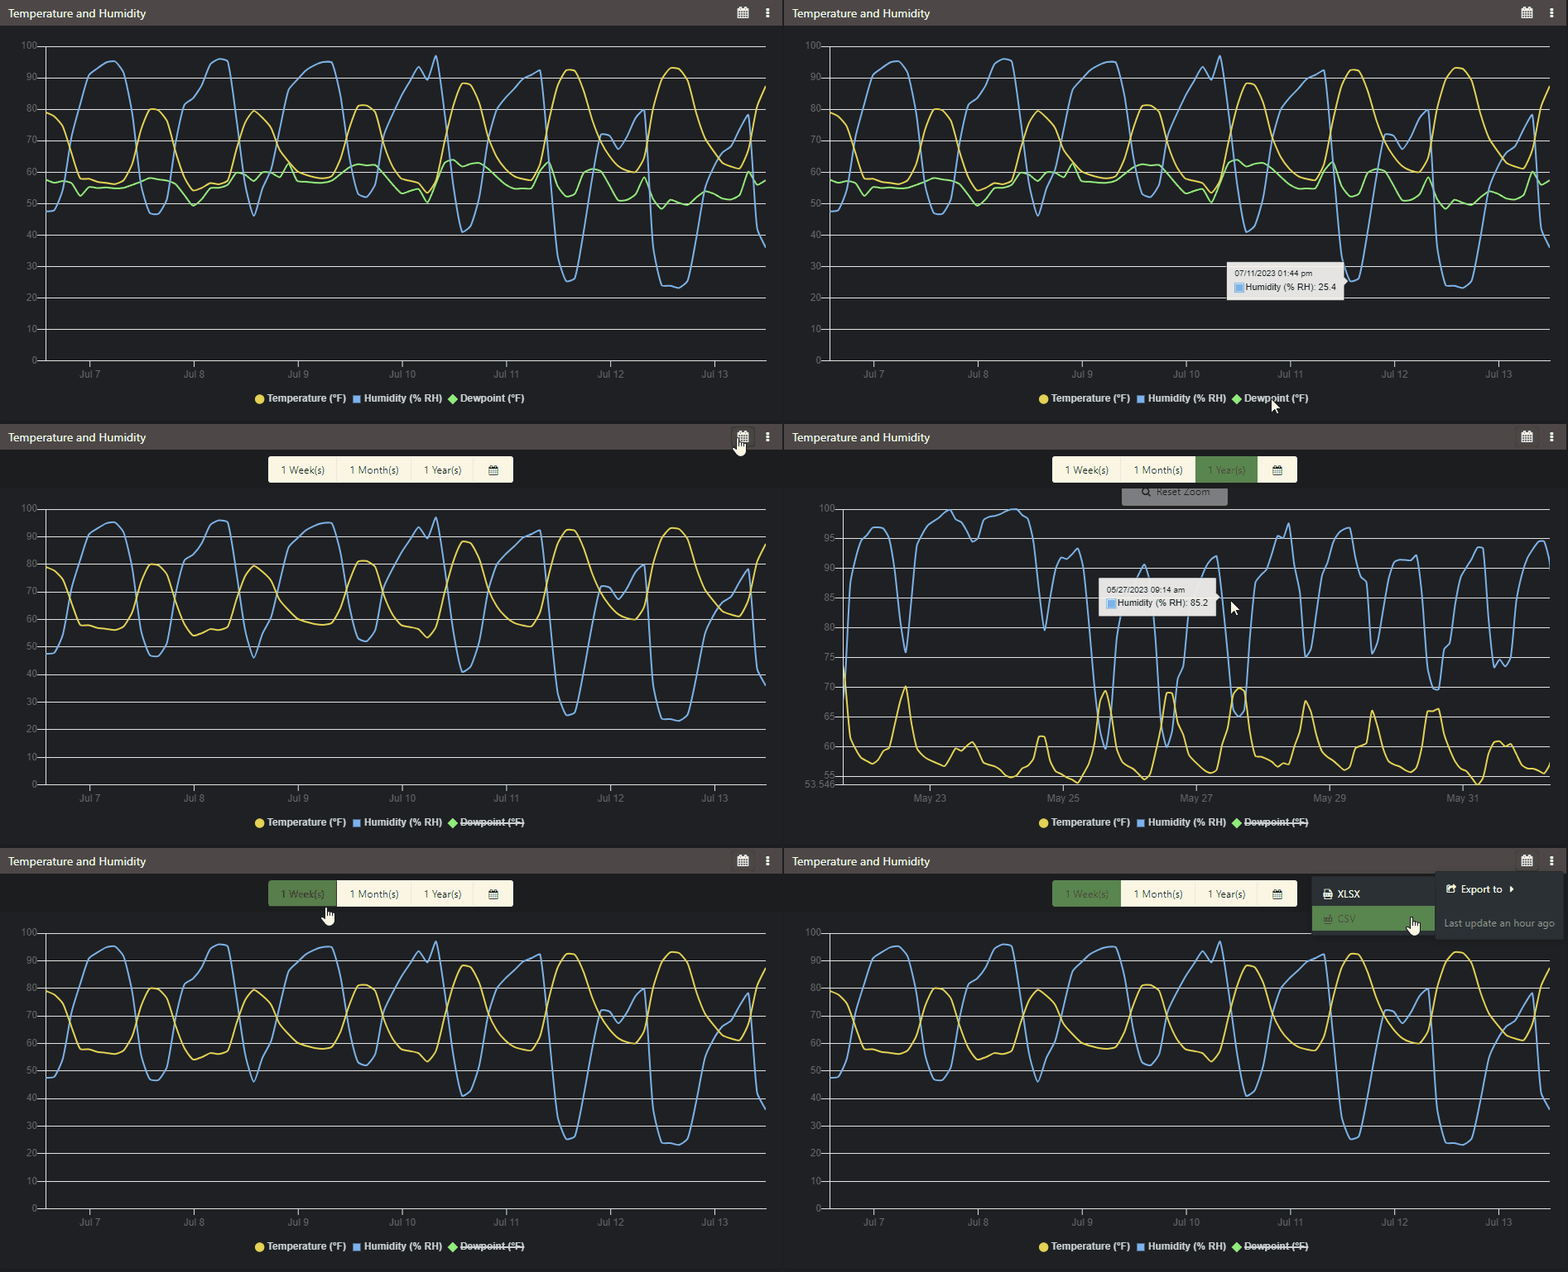
This is your temperature and humidity dashboard. You can select different sensors using the dropdown menu (1) in the top left of the page.
Your measurements are reported here every 2 hours for your air temperature, relative humidity, and dew point. Press the tabs (2) to access your growing degree days and chill hours dashboards.
3.) Setting Alarms
Press the bell button “Set Alarm Thresholds” on the top left to open the alarm tool. Here you can set threshold that will trigger an email and Flora Cloud notification. You will receive at most 1 alarm from each sensor per day.
4.) Interpreting the Data
Trigger overhead irrigation for cooling and frost protection. Know where to place a wind machine. Determine when to harvest your crop and package your crop with the dew point.
Growing degree days are calculated every day so you know your precise crop and pest development stages. You use this data to accurately know when to harvest, apply pesticides and where to invest in infrastructure.
Chill hours are also calculated daily to give you dormancy data.


