How to use the Soil Tension Sensor
In this guide, we will go over…
1.) Physical Installation
2.) Soil Tension Dashboard
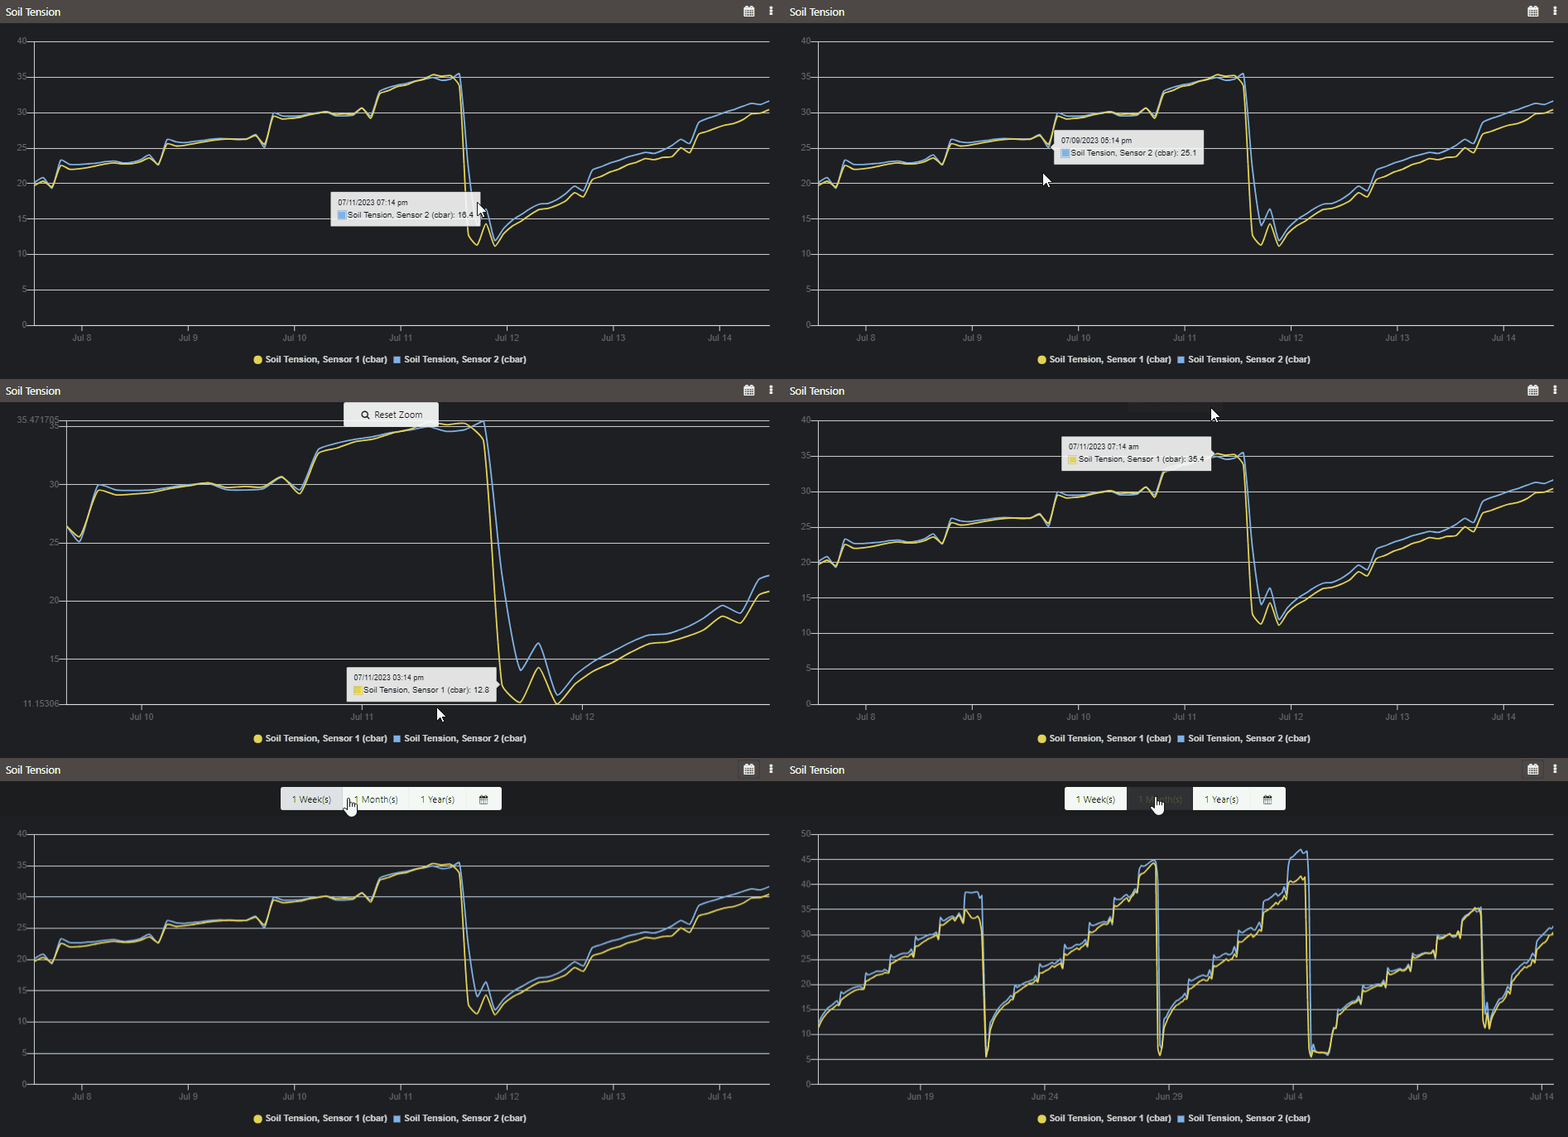
This is your soil tension dashboard. If you have a single unit, you will only have 1 gauge and alarm. You can select different sensors using the dropdown menu (1) in the top left of the page.
Your measurements are reported here every 2 hours for your soil tension in cB.
3.) Setting Alarms
Press the bell button “Set Alarm Thresholds” on the top left to open the alarm tool. Here you can set threshold that will trigger an email and Flora Cloud notification. You will receive at most 1 alarm from each sensor per day.
It is recommended to monitor your soil tensions with your current irrigation routine and determine the optimal zones to maintain your desired soil tension.
4.) Interpreting the Data
Since irrigation scheduling is a function of many complex variables, it is impossible to recommended how to irrigate your crop. This is a good resource for irrigation management using sensor feedback.
Instead, we recommend that you use the Soil Tension sensor as an irrigation trigger tool. Determine the setpoints to irrigate based on your sensor feedback, crop and soil texture. Bury sensor #2 (in dual tension models) below the root zone to determine if your irrigation water is reaching the full root zone.
If your soil tension is trending downwards
You may be irrigating too frequently
Poor system distribution uniformity could overwater sections of your irrigation block
Irrigation runoff and drainage could cause pooling
If your soil tension is trending upwards
You may need to irrigate more frequently
Poor system distribution uniformity could underwater sections of your irrigation block
A failure in your irrigation system could be restricting water supply


